(new page… updating)
Heading out on two wheels
Experience
Destination
Equipment
Fitness
Travel
Support
When we get started working towards your goal, you will need to define your goal. Are you looking to do a particular event or multi-day tour, is it for overall fitness, for performance, for exploring.
Each endurance event and active-travel-tour is shaped by its unique characteristics that when put together make up the performance you must deliver.
Once we identify these characteristics, which include distance, terrain, and environmental conditions, we need to look at your current ability to meet these demands.

Training Tools/Equipment
Bike Purpose
There is another section to the end that goes into more detail about all the different kinds of bikes that are there but let’s focus on three areas. Cockpit, Saddle, and Tires…
Cruiser, MTB/Trail, Gravel, Road, Non-Draft (triathlon)… From here there are variations.
- Helmet
- Eye Protection
- Bike Computer/Watch
- Heart Rate Monitor
- Power Meter Pedals
- Shoes
- Clothing
What are we working with
We need to know where you are coming from. What is your current fitness and skill level, do you have any current or past injuries/health conditions that can affect your ability to get started. What is your ability to train, what amount of time do you have, what training facilities and terrain do you have access to, what training tools do you have…
If you have the all-clear after taking the Physical Activity Readiness Questionnaire, we can get started on your journey.
I use training history, baseline sessions, movement analysis, a One-to-One Consultation and an athlete profile to get us started. You can see the Athlete Profile Questionnaire here: (Click Here, document at SignNow.com).
Sort of a digital training journal, my clients get TRAININGPEAKS™ Premium to collect Subjective and Objective Training Data in a single platform for an easier overview. This training history will help us identify the training stress each modality has on you.
If we are missing recent training data, baseline sessions can help us find a starting point. These are sessions that give us data on a movement you can hold for an extended period of time… a threshold.
We want to know that you are holding Good Form while training for injury prevention, for efficiency, for force production… we turn to movement analysis, in simple terms the observation of your movements in training. This can be done in person or with videos of the last six months. I use a camera that is waterproof and allows me to see the movement a slower speed. (See list of my equipment here)
- For Bicycling analysis
- With Cycling, your bicycle on an indoor trainer (Rollentrainer, turbo trainer) can help.
- With running and cycling a video setup centered at hip level from the side, back, and front could be useful
- In regard to camera setting a higher frames-per-second (fps) is important.
Where to go from here
After the initial analysis, Subjective and Objective data will continue to be reviewed, and your training can be adapted to suit the needs identified. With that there will be occasions where training sessions (and performances) can be intense enough that it will give us a new threshold.
Once we had a look at your movement patterns, training data (Subjective and Objective), bucket list, and availability to train, we can start putting together a custom training plan that transforms what you want to accomplish into something you can accomplish.
It starts with making your ultimate goal possible by creating smaller 4-week Training Blocks that become achievable steps leading to what you want to accomplish. The sum of these 4-week Training Blocks is your Training Plan. What is now achievable allows for something that many individuals struggle with… consistency.
Every week in the Training Block has their own Training Objective guided by the overall focus of the Training Block.
This plan is broken down into 4-week training blocks that have a specific training load and focus set for each week. This training load is calculated through formulas of varying intensities and time creating an overall Training Stress. Depending on what step you are on in your Training Plan, the focus of the Training Block can be one of three.
- Preparation (PR)
- Build (BD)
- Peak (PK)
You will start with a Preparation Block (PR) if you are new, unfamiliar, or out-of-habit with doing a particular movement. You may start here if I see that your form needs some adjustment. We want to make sure your form is efficient and resistant to injury before the next step.
As your fitness develops performance will likely follow, but at some point, progress in performance may plateau. This may call for a change in Focus… If the goal is to progress in performance and you are at the limits of available training volume, the next Block focuses on Building on the Base. The Build Block (BD). In this block the body is teased with sessions of a particular focus into further developing the Aerobic Infrastructure.
The Peak Block is something that focuses on the final preparation of a Performance such an Endurance event or Tour.
Bicycling, a closer look
Cycling form starts with a good-for-your-current-you bike fit (molding the bicycle to you)… See Equipment Guide for Fitting info.
Now that the bicycle is molded to your body training can begin. Of the five functional training exercises above, three of them really cross into off-bike training for Cycling (The Plank/Side-Plank, Glute Bridge, and Single Leg Stand up/Kneel)
Sessions on the bike… Depending on your training needs, goals, and current focus you may find the following sessions:
- Aerobic Build (Threshold)
- Leg Work (Force)
- Steady (Form Endurance)
- Recovery (Active Recovery)
Molding the bike to you, a closer look
Cycling form starts with a good-for-your-current-you bike fit (molding the bicycle to you)
Going Faster. There are a lot of forces that fight against this. It’s a drag… on the ground and in the air. To go faster we have to break through this. The more drag we encounter the more force we have to produce to keep the speed. Both the bicycle and the individual have an effect on this. Getting the right bicycle is one part. After consideration of how long the ride is (short and sweet or going the distance), what format the ride takes (Draft/non-Draft; road/off-road; climbs/flat), and understanding one’s fitness level (flexibility, power, endurance)…bicycle build (components) and fitting (molding the bicycle to you) sets an individual up in the right direction. We would like to assist individuals in this with the consideration of where they are now and where they want to be.
The second part is the training and working with what you have, training that will help with reducing drag and improving force. Training is so individual that it can take on many different focus points (individuals may or may not have to work on Healthier body composition to reduce rolling resistance; Flexibility to keep the power while reducing air drag; Power to cut through these forces; Endurance…). Or cycling can just be fun. Enjoy the ride. Stay safe.
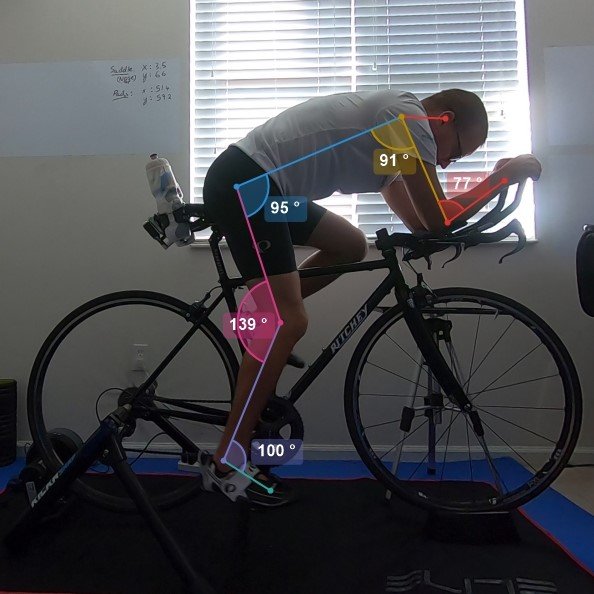
The bicycle fitting should be considered part of your training… it is like a flexibility, stability, endurance, strength… test after creating the ideal fit for your body mechanics we use this as a baseline measurement to develop training goals of stability, flexibility, strength with understanding that the body adapts to training…
Take a seat
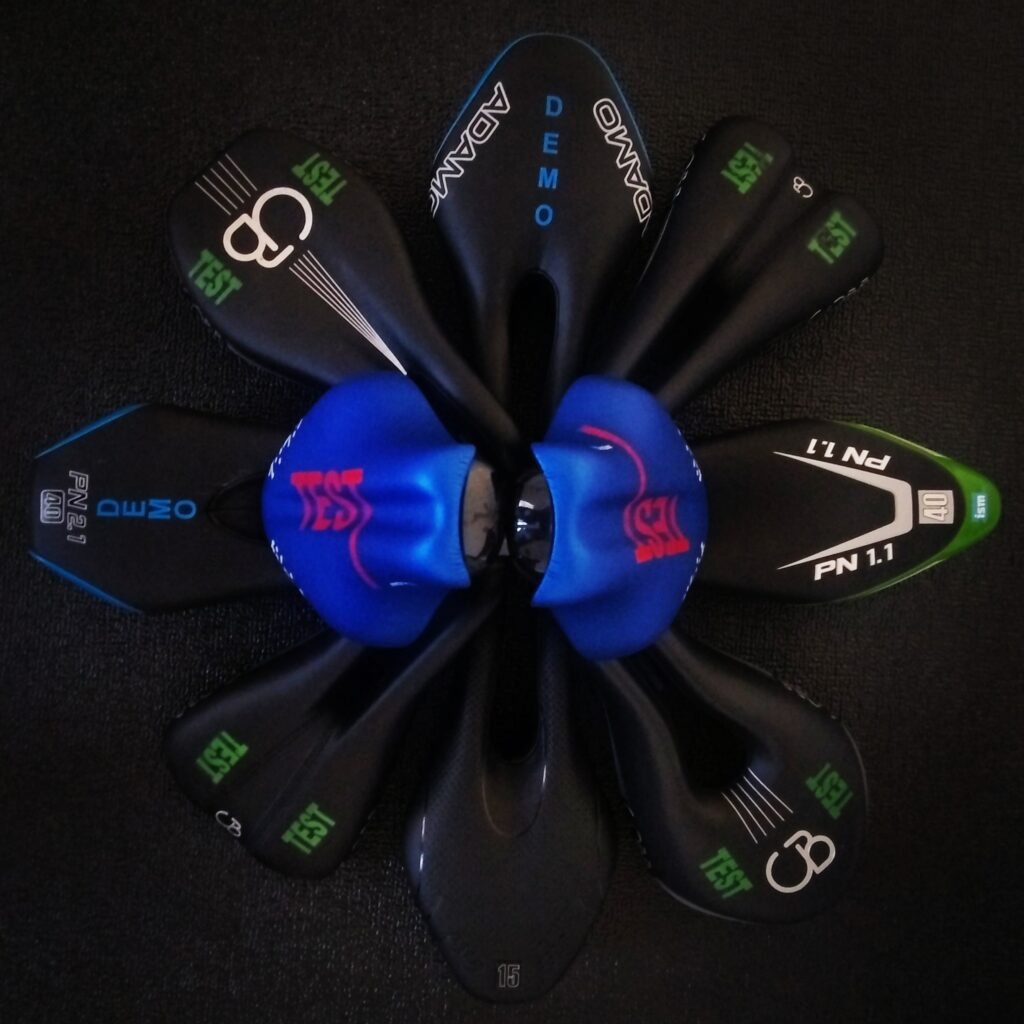
Have a seat on your sit bones… when I talk about your sit bones it is pretty much the bony parts (two points next to each other) you sit on when you are on the saddle… and with the pelvic tilt the width between the two points may change.
So, depending on your primary position on your bike you may decide on a different saddle (width of the padding on the saddle).
We want to remain stable on both of these two points, not pivoting back and forth on them, nor simply staying on one side.
Given this you should try out different saddles in succession… finding your saddle for when you are sitting upright or deep into your aerobars.
Dial in your Cockpit
With everyone having a unique structure, your equipment should resemble your needs.
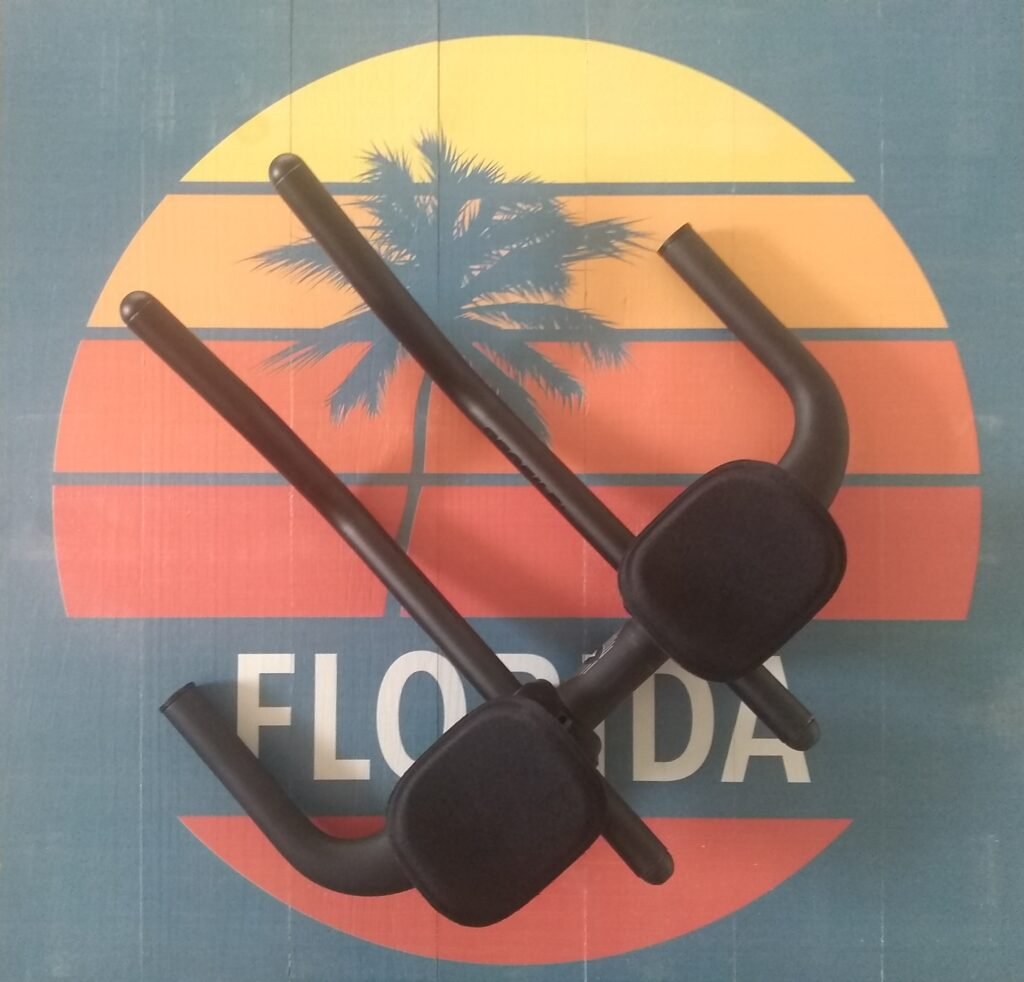
Your cockpit should be dialed in for this… to help with this there is a variety of extension shapes and lengths, plus armrest shapes… From there, fore/aft/width adjustment on the armrests plus risers/angled wedges for perfection.
And if you use a drop bar… there are bars for your shoulder width and hand size.
Find your Stance
Hips over knees over toes… keeping everything in line.
In cycling pushing the pedal reminds me of the Single Leg Press, but the position of your foot is locked in with your pedal.
Similar to adjusting the rest of the bike to your body, the pedals should be shifted according to your needs.
- Paved
- Road Bike
- Narrow-tire Hybrid
- Unpaved
- Gravel
- All-Road
- CycloCross
- Cruiser
- Wide-tire Hybrid
- Trail
- Trail/Mountain bike
- Gravel
- CycloCross
- Non-Draft (Triathlon)
- Time Trial
- Triathlon